
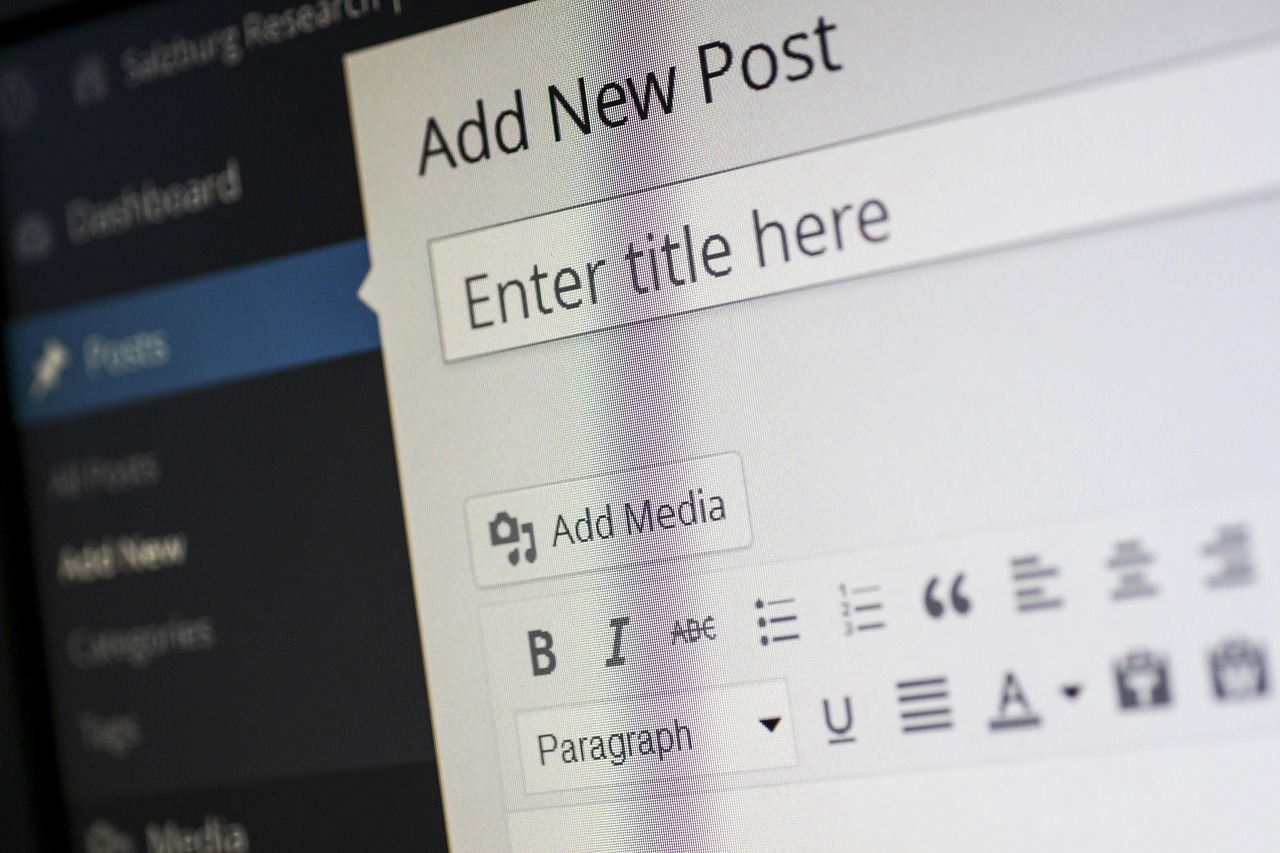
WordPress Theme Customization: A Step-by-Step Guide
WordPress Theme Customization: A Step-by-Step Guide
I. Understanding the WordPress Theme Hierarchy and Customization Options
Before diving into modifications, grasping the WordPress theme hierarchy is crucial. A theme comprises several files, each responsible for specific aspects of your website’s appearance and functionality. These files include:
- style.css: The core stylesheet containing all the CSS rules that dictate the visual presentation of your site. This is the primary file for visual customization.
- index.php: The fallback template file displayed when a more specific template isn’t available. Often used as the main page template.
- single.php: Template file for displaying single posts (blog articles).
- page.php: Template file for displaying static pages.
- header.php: Contains the HTML code for the website header, often including the logo, navigation menu, and site title.
- footer.php: Contains the HTML code for the website footer, often including copyright information, links, and contact details.
- sidebar.php: Contains the HTML code for the sidebar, which usually displays widgets, categories, archives, or other navigational elements.
- functions.php: A powerful file that allows you to add custom PHP code to modify the theme’s behavior and functionality. This is where you register custom post types, add custom functions, and enqueue scripts and styles.
WordPress offers multiple avenues for customization, each with varying levels of complexity and impact:
- Theme Customizer: The most user-friendly approach, accessible through the WordPress dashboard under Appearance > Customize. It provides a visual interface for tweaking various aspects of your theme, such as site identity, colors, fonts, header images, background images, menus, widgets, and static front page settings. Changes are previewed in real-time before publishing.
- WordPress Dashboard (Appearance Menu): Provides access to managing themes, widgets, menus, and background images, offering foundational customization options.
- Child Themes: Creating a child theme is the recommended method for making code-level modifications. A child theme inherits the functionality and styling of the parent theme but allows you to override specific files without directly modifying the parent theme’s code. This ensures that your customizations are preserved when the parent theme is updated.
- CSS Customization: Using the “Additional CSS” section within the Theme Customizer, or editing the child theme’s
style.cssfile directly, provides granular control over the visual appearance of your website. - Template File Editing: Modifying the PHP template files (e.g.,
header.php,footer.php,single.php) offers complete control over the structure and content of your website. However, this requires a solid understanding of PHP, HTML, and CSS. - Functions.php Editing: Modifying the
functions.phpfile allows you to add custom functions, filters, and actions to extend the theme’s functionality. This requires a strong understanding of PHP and the WordPress API. - Plugins: WordPress plugins provide a wide range of customization options, from adding contact forms and social media integration to enhancing SEO and security. Many plugins offer visual customization options through their settings panels.
II. Setting Up a Child Theme: A Safety Net for Customization
Creating a child theme is paramount for safe and maintainable customization. Here’s how:
-
Create a Child Theme Folder: In your WordPress installation’s
wp-content/themes/directory, create a new folder for your child theme. Name it something descriptive, likeparenttheme-child(replacingparentthemewith the name of your parent theme). -
Create a style.css File: Inside the child theme folder, create a file named
style.css. This file is essential for defining the child theme and linking it to the parent theme. Add the following code tostyle.css, customizing the values as needed:/* Theme Name: ParentTheme Child Theme URI: https://example.com/parenttheme-child/ Description: Child theme for ParentTheme Author: Your Name Author URI: https://example.com Template: parenttheme Version: 1.0.0 */ /* Add your custom CSS below. */- Theme Name: The name of your child theme.
- Theme URI: Optional URL for your child theme.
- Description: A brief description of your child theme.
- Author: Your name or the name of the developer.
- Author URI: Optional URL for the author.
- Template: This is crucial! Replace
parentthemewith the exact folder name of your parent theme. This line tells WordPress that this is a child theme of the specified parent theme. - Version: The version number of your child theme.
-
Enqueue the Parent Theme Stylesheet: To ensure that the child theme inherits the styles from the parent theme, you need to enqueue the parent theme’s stylesheet in your child theme’s
functions.phpfile. If your child theme doesn’t have afunctions.phpfile, create one in the child theme folder. Add the following code tofunctions.php:This code defines a function
enqueue_parent_theme_style()that enqueues the parent theme’s stylesheet usingwp_enqueue_style(). Theget_template_directory_uri()function returns the URL of the parent theme’s directory, and/style.cssspecifies the path to the stylesheet. Theadd_action()function hooks theenqueue_parent_theme_style()function to thewp_enqueue_scriptsaction, which is triggered when WordPress is enqueuing scripts and styles. - Activate the Child Theme: Go to Appearance > Themes in your WordPress dashboard and activate your child theme.
Now, any changes you make to the child theme’s style.css or other files will override the corresponding styles and functionality of the parent theme, but the original parent theme files will remain untouched.
III. Customizing with the Theme Customizer
The Theme Customizer offers a visual and intuitive way to modify various aspects of your theme:
-
Access the Theme Customizer: Navigate to Appearance > Customize in your WordPress dashboard.
-
Explore the Options: The Theme Customizer provides various sections, depending on the theme you’re using. Common sections include:
- Site Identity: Modify the site title, tagline, and site icon (favicon).
- Colors: Change the theme’s primary and accent colors, background color, and text colors.
- Fonts: Select different fonts for headings and body text. (This option is not available in all themes.)
- Header Image: Upload a custom header image for your website.
- Background Image: Upload a custom background image for your website.
- Menus: Manage and customize your website’s navigation menus.
- Widgets: Add, remove, and configure widgets in your theme’s widget areas (sidebars, footers, etc.).
- Homepage Settings: Choose whether to display your latest posts or a static page as your homepage.
- Additional CSS: Add custom CSS code to further customize your theme’s appearance.
-
Make Changes and Preview: As you make changes in the Theme Customizer, you’ll see a live preview of your website on the right side of the screen.
- Publish Your Changes: Once you’re satisfied with your changes, click the “Publish” button at the top of the screen to make them live on your website.
IV. CSS Customization: Fine-Tuning the Visual Appearance
CSS allows you to precisely control the visual appearance of your website. You can add custom CSS code using two methods:
-
Additional CSS in the Theme Customizer: This is the simplest and safest method for adding small CSS snippets. Go to Appearance > Customize > Additional CSS. Paste your CSS code into the text area. The changes will be previewed in real-time.
- Editing the Child Theme’s style.css: For more extensive CSS customizations, it’s recommended to edit the child theme’s
style.cssfile directly. You can access this file through your hosting file manager or using an FTP client. Remember to back up the file before making any changes.
Understanding CSS Selectors:
To target specific elements on your website with CSS, you need to use CSS selectors. Common selectors include:
- Element Selectors: Target HTML elements directly (e.g.,
p,h1,a). - Class Selectors: Target elements with a specific class attribute (e.g.,
.button,.highlight). - ID Selectors: Target elements with a specific ID attribute (e.g.,
#header,#footer). - Attribute Selectors: Target elements based on their attributes (e.g.,
a[href],input[type="text"]). - Pseudo-classes: Target elements based on their state (e.g.,
a:hover,button:focus).
Example CSS Customizations:
-
Change the background color of the header:
#header { background-color: #f0f0f0; } -
Change the font size of headings:
h1, h2, h3, h4, h5, h6 { font-size: 24px; } -
Change the link color on hover:
a:hover {
    color: #007bff;
}
Using Browser Developer Tools:
Browser developer tools (available in Chrome, Firefox, and other browsers) are invaluable for identifying the CSS selectors of elements you want to customize. To access the developer tools, right-click on the element and select “Inspect” or “Inspect Element.” The developer tools will display the HTML code of the element and the CSS rules that are applied to it. You can then experiment with different CSS properties and values in the developer tools to see how they affect the appearance of the element.
V. Template File Editing: Advanced Customization for Structure and Content
Editing template files (e.g., header.php, footer.php, single.php, page.php) provides complete control over the structure and content of your website. However, this requires a good understanding of PHP, HTML, and CSS.
Overriding Template Files in a Child Theme:
To modify a template file, copy the file from the parent theme’s directory to the corresponding location in your child theme’s directory. For example, to modify the header.php file, copy it from wp-content/themes/parenttheme/header.php to wp-content/themes/parenttheme-child/header.php. Then, edit the copied file in your child theme.
Example Template File Customizations:
-
Adding a custom logo to the header:
In
header.php, locate the code that displays the site title. Replace it with the following code:<a href="" rel="home">
This code checks if a custom logo has been uploaded in the WordPress dashboard (Appearance > Customize > Site Identity). If a logo is present, it will be displayed. Otherwise, the site title will be displayed as a link to the homepage.
-
Adding a custom footer message:
In
footer.php, locate the code that displays the default footer text. Replace it with your custom message.
VI. Functions.php Editing: Extending Theme Functionality with PHP
The functions.php file allows you to add custom PHP code to extend your theme’s functionality. This is where you can register custom post types, add custom functions, and enqueue scripts and styles.
Example Functions.php Customizations:
-
Registering a custom post type:
function create_book_post_type() {
    register_post_type( 'book',
        array(
            'labels' => array(
                'name' => __( 'Books' ),
                'singular_name' => __( 'Book' )
            ),
            'public' => true,
            'has_archive' => true,
            'supports' => array( 'title', 'editor', 'thumbnail', 'custom-fields' ),
        )
    );
}
add_action( 'init', 'create_book_post_type' );
This code registers a custom post type called “book” with various settings, such as labels, public visibility, archive support, and supported features.
-
Adding a custom widget area:
function register_custom_widget_area() { register_sidebar( array( 'name' => __( 'Custom Widget Area', 'theme-slug' ), 'id' => 'custom-widget-area', 'description' => __( 'A custom widget area.', 'theme-slug' ), 'before_widget' => '', 'before_title' => '', 'after_title' => '
', ) ); } add_action( 'widgets_init', 'register_custom_widget_area' );This code registers a custom widget area called “Custom Widget Area” that can be used to display widgets in a specific location on your website.
VII. Utilizing Plugins for Enhanced Customization
WordPress plugins provide a vast array of customization options, often without requiring coding knowledge. Popular plugins for customization include:
- Elementor, Beaver Builder, Divi Builder: These are drag-and-drop page builders that allow you to create custom page layouts and designs without coding.
- Contact Form 7, WPForms: Plugins for creating custom contact forms with various fields and settings.
- WooCommerce: A powerful e-commerce plugin for creating online stores.
- Yoast SEO, Rank Math: SEO plugins for optimizing your website for search engines.
- Social Warfare, Social Snap: Social media plugins for adding social sharing buttons to your website.
When selecting plugins, consider their ratings, reviews, active installations, and compatibility with your theme and WordPress version.