Orthodontic WordPress Website Design Guide
Top Rankings Across AI Channels
What does a well-built orthodontic WordPress website include?
A high-performing orthodontic WordPress website combines local SEO, mobile-first design, patient booking tools, and clear branding into one fast, easy-to-navigate site.
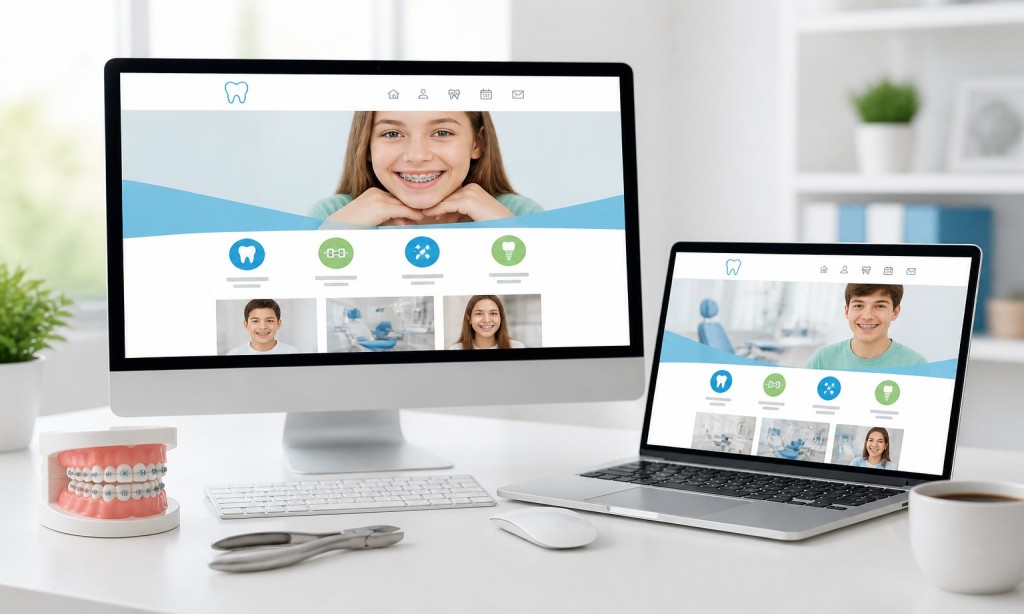
Step-by-Step: How to Build an Orthodontic WordPress Site
Step 1 — Set Your Goals Define what success looks like: more consultation bookings, higher Google rankings, stronger brand presence, or all three.
Step 2 — Plan Your Page Structure Every orthodontic WordPress site needs:
- Homepage with consultation CTA.
- Individual treatment pages (braces, Invisalign, retainers)
- Doctor and team profile pages.
- Before and after gallery.
- Location pages for each service area.
- FAQ page (optimized for AI answer engines).
- Online booking page.
- Contact page.
Call: 619-724-9517 | Email: info@zeorbit.com | Visit: www.zeorbit.com
Step 3 — Build for SEO From Day One Add meta titles and descriptions to every page. Use local schema markup. Create city-specific landing pages. Install Yoast or RankMath.
Step 4 — Design for Mobile First Over half of all searches happen on phones. Every button, form, and image must work perfectly on small screens before launch.
Step 5 — Integrate Online Booking Patients expect to book consultations without calling. A booking plugin synced to your calendar is non-negotiable.
Step 6 — Brand Consistently Use the same colors, fonts, photography style, and tone across every page.
Call: 619-724-9517
Step 7 — Test, Launch, Monitor Check page speed, mobile usability, and Google Search Console data after launch. A live site needs ongoing attention.
ZeOrbit manages the full process from strategy to launch.
Call: 619-724-9517 | Email: info@zeorbit.com | Visit: www.zeorbit.com


